Editing a Schedule Definition Addition
The following procedure explains how to delete, rename, or edit a schedule definition addition.
Complete the following steps:
1 Click
Data Entry >
Define Schedules to open the
Define Schedules window (
Figure 9-12).
2 Click the down arrow in the Select Schedule Definition field and select an addition in the selection list.
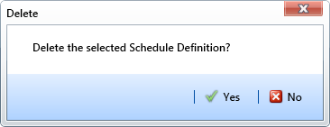
3 If you want to delete the addition, click
 Delete
, then click
 Yes
Yes when the
Delete message displays (
Figure 9-13).
Figure 9-13. Delete Message
4 If you want to rename an addition, type a new name in the
Schedule Name field and then click
 Save
Save.
5 If you want to edit the addition by adding one or more schedule types, follow these steps:
a Select a schedule type listed in the Available Schedule Types pane. To select multiple schedule types, press the Ctrl key on the computer keyboard while selecting each schedule type.
b Click the top arrow button

to move the schedule type(s) to the
Selected Schedule Types pane, then click
 Save
Save.
6 If you want to edit the addition by removing one or more schedule types, follow these steps:
a Select a schedule type listed in the Selected Schedule Types pane. To select multiple schedule types, press the Ctrl key on the computer keyboard while selecting each schedule type.
b Click the bottom arrow button

to move the schedule type to the
Available Schedule Types pane, then click
 Save
Save.