Exporting and Importing a Route
The following information explains how to import or export a defined route in either Microsoft Excel (.xls) or CSV (.csv) format. Facilities for inspection are based on the pipeline segment(s) you select in the Select ROWs window.
Complete the following steps:
1 Click the
Select ROWs button

to open the
Select ROWs window (
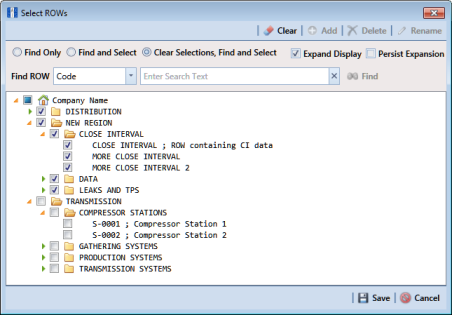
Figure 8-74). Select one or more pipeline segments with facilities you want to include in the route. Click
 Save
Save to close the window.
Note: A check mark inside a check box indicates a selection. To clear a selection, click the check box again to remove the check mark. A shaded check box indicates selection of some, not all, child folders, ROWs, and pipelines.
Figure 8-74. Select ROWs
2 Click
Data Entry >
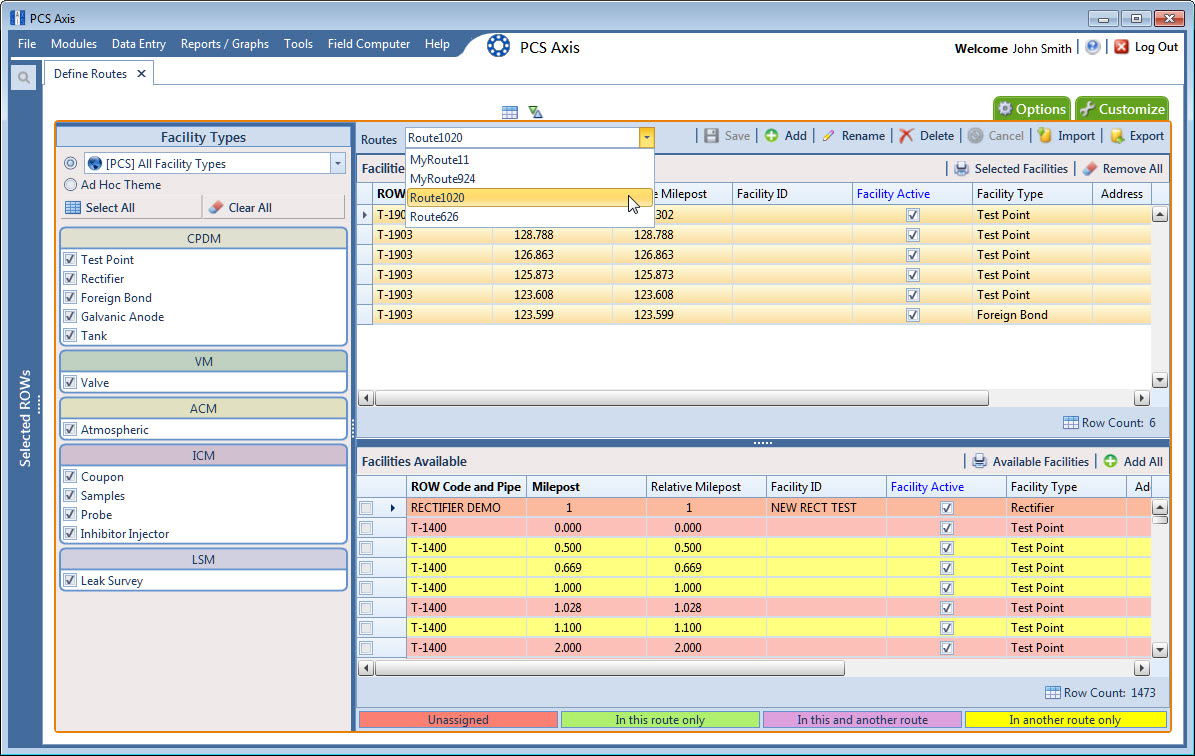
Define Routes to open the
Define Routes window. Click the down arrow in the
Routes field and select a route in the list (
Figure 8-75).
Figure 8-75. Define Routes
If you have not defined any routes, refer to
Creating a Route for instructions on creating a route.
3 To add a facility to the Facilities in Route grid, double-click the name of the facility in the Facilities Available grid.
4 Click
 Save
Save to save the changes.
5 To export the route, click
 Export
.
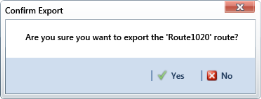
6 Click
Yes in the
Confirm Export dialog box (
Figure 8-76).
Figure 8-76. Confirm Export
a Choose an export file type. Click the down arrow in the Save as type field and select one of the following file types:
• Excel files (*.xlsx)
• Text files (*.csv)
7 When the file has been created, the Info dialog box displays (
Figure 8-77). Click
OK.
Figure 8-77. Export File Created
8 To import a saved file, follow these steps:
a Click the down arrow in the Routes field and select a route. This route will be replaced by the route to be imported.
b Click
 Import
.
9 Navigate to the file and click Open. The file is loaded in the Facilities in a Route grid, and replaces the route previously shown.