Adding a Pipeline in the Hierarchy
To add a pipeline in the hierarchy, follow these steps:
1 If the
Select ROWs window is not open, click
File >
Select ROWs (
Figure 4-3).
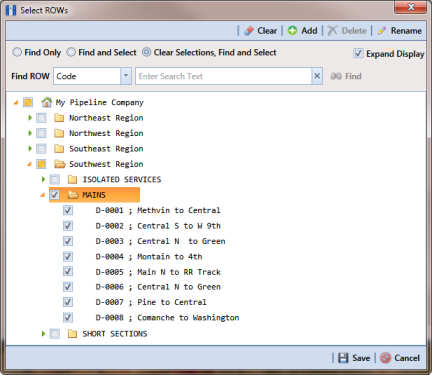
Figure 4-3. Select ROWs
2 Select a folder in the hierarchy you want to add a pipeline. In the following example, another pipeline will be added in the Mains folder.
3 Click
 Add
Add to open the
Add New Node dialog box (
Figure 4-4). Right-clicking the selected hierarchy folder and selecting
Add in the shortcut menu also opens the
Add New Node dialog box.
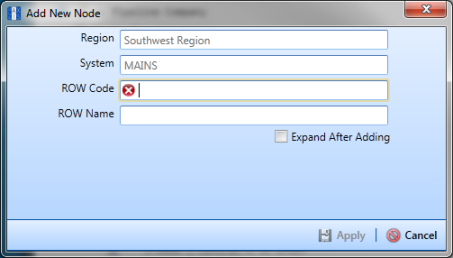
Figure 4-4. Add New Node
4 Enter a pipeline code for the new pipeline in the
ROW Code field. Fields requiring information include a

red icon, such as
ROW Code in the previous figure (
Figure 4-4).
Note: The names of hierarchy folders as well as ROW Code and ROW Name support up to 100 characters.
5 Type a name for the pipeline in the ROW Name field.
6 Click the option Expand After Adding if you want to expand the selection tree after clicking Apply.
7 Click
 Apply
Apply. Repeat
step 2 through
step 6 as needed to add another pipeline in the selected hierarchy folder.