Setting the System Hierarchy
This procedure explains how to set up PCS Axis with the following required system settings: your company’s name, the number of levels in the system hierarchy, and a name for inspection points on a pipeline. A Public caption in this Options screen indicates the associated property setting applies globally to all users and can only be changed by a SysAdmin.
The required setting
User Location Format in
Edit ROW Details will not be completed during the initial system set up. After adding pipeline records in the system hierarchy, the User Location Format can be configured for each pipeline record to identify how inspection points are located on a pipeline. For more information, see
Understanding Default Location Formats. To create the system hierarchy, follow these steps:
1 Click
Tools >
Options >
General to open the
General options page (
Figure 3-3).
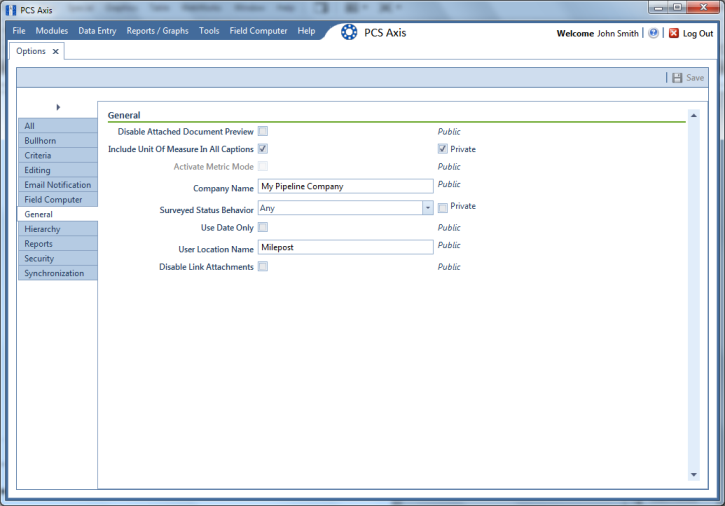
2 Type the name of your company in the field Company Name.
3 Identify how your company refers to inspection points on a pipeline. For example, type Milepost, Station Number, Reference Reading, or other type of descriptor in the field User Location Name.
Figure 3-3. Company Name and User Location Name
4 Click the
Hierarchy tab to open hierarchy options page (
Figure 3-4).
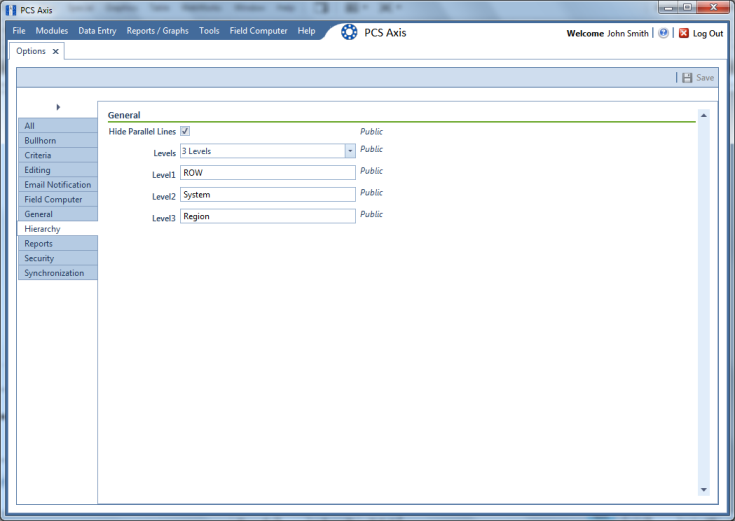
5 Click the check box Hide Parallel Lines if you want to hide features in PCS Axis that allow you to create and display parallel lines in the hierarchy.
Note: When
Hide Parallel Lines is enabled, parallel lines are hidden in
Select ROWs and in the
Add New Node dialog box. Distribution companies with no parallel lines typically use this setting. PCS Axis identifies parallel lines using the fields
Pipe,
Pipeline Code, and
Pipeline Name. For a description of these fields refer to
System Field Descriptions.
6 Identify how many levels to include in the hierarchy. Click the down arrow in the Levels field and select the number of hierarchy levels in the selection list.
7 Identify how pipelines are referred to in the system. For example, type ROW or Segment in the Level 1 field.
8 Type a description for each additional level in the hierarchy using the fields labeled Level 2 through Level 5 as required.
9 (SysAdmin only) For property settings accompanied by a
Private check box, check or uncheck the check box based on your company’s requirements. When the
Private check box is checked, the currently logged in user can change the associated property setting. For more information, see
Understanding Public and Private Property Settings.
10 Click
 Save
Save and then continue with the next section
Setting Up PCS Axis to continue setting up PCS Axis for operation.
Figure 3-4. Hierarchy Levels
Related Topics