Editing an Installed Schedule Definition
An installed schedule definition includes [PCS] in the title of the schedule definition name, such as [PCS] Installed Schedule Definition. The procedure in this section explains how to complete the following tasks to edit an installed schedule definition:
• add a schedule type
• remove a schedule type
• revert an installed schedule definition
To edit an installed schedule definition, follow these steps:
1 Click
Data Entry >
Define Schedules to open the
Define Schedules window (
Figure 9-9).
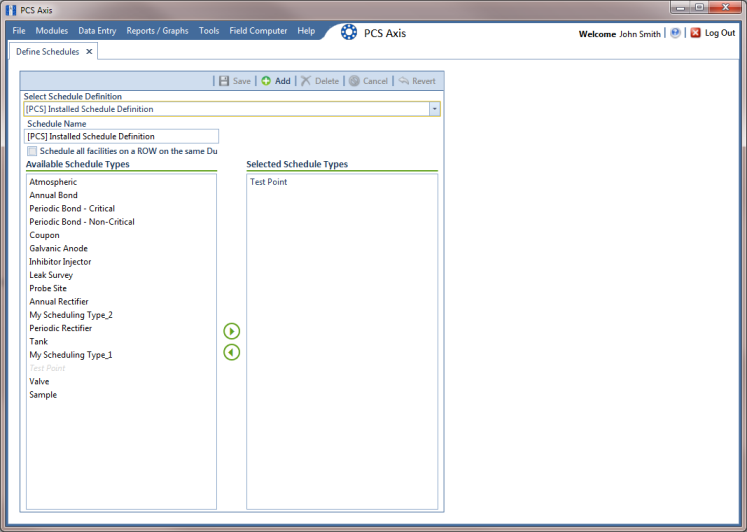
2 Click the down arrow in the Select Schedule Definition field and select an installed schedule definition, such as [PCS] Installed Schedule Definition.
Figure 9-9. Define Schedules
3 To add one or more schedule types to an installed schedule definition:
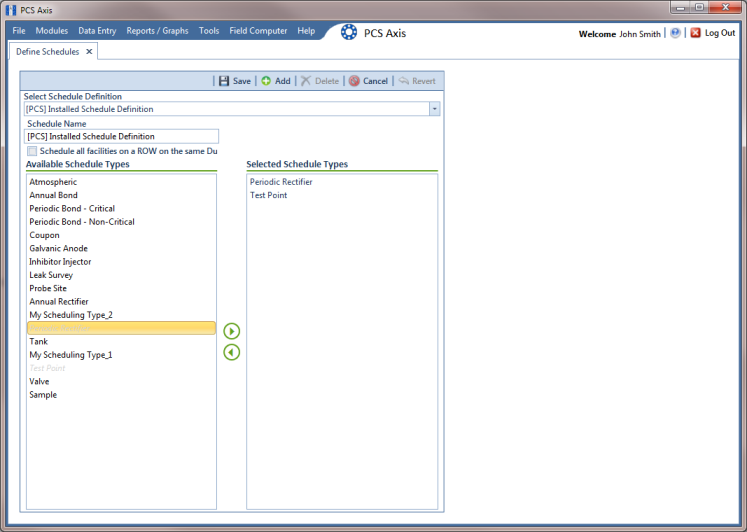
a Select a schedule type listed in the Available Schedule Types pane, such as Periodic Rectifier. To select multiple schedule types, press the Ctrl key on the computer keyboard while selecting each schedule type.
b Click the top arrow button

to move the schedule type(s) to the
Selected Schedule Types pane (
Figure 9-10). Click
 Save
Save.
Note: Double-clicking a schedule type in the Available Schedule Types pane also moves it to the Selected Schedule Types pane.
Figure 9-10. Adding a Schedule Type
4 To remove one or more schedule types from an installed schedule definition:
a Select a schedule type listed in the
Selected Schedule Types pane (
Figure 9-10). To select multiple schedule types, press the
Ctrl key on the computer keyboard while selecting each schedule type.
b Click the bottom arrow button

to move the schedule type to the
Available Schedule Types pane. Click
 Save
Save.
Note: Double-clicking a schedule type in the Selected Schedule Types pane also moves it to the Available Schedule Types pane.
5 After saving changes to an installed schedule definition, complete the following step to revert to installed values:
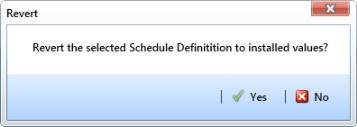
• Click
Revert then click
 Yes
Yes when the
Revert message displays (
Figure 9-11).
Figure 9-11. Revert Message